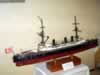
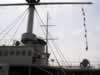
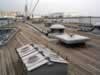
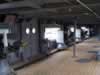
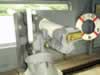
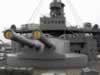
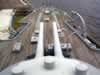
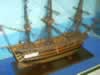
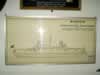
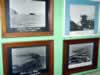
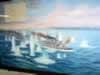
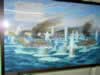
HIJM Mikasa Memorial

Sketch of 12in gun turret ADM Togo's dressing stand Armored door Barr & Stroud FA3 Barr & Stroud FA3 controls
WWII ship models One of hundreds of models aboard Mikasa Another fine example IJN Fleet WWII Wall of models covering many years
Nice selection of the modelers craft JMDF CVH Note photos of the ship behind model Another beauty All warships are covered
Another view IJN Fleet WWII Starboard side looking forward 30cm/40 Pattern G, looking to port Bridge, note 90cm searchlight
Anchor chains and capstan casemate battery 15cm/40 Pattern Z Breech 15cm/40 Pattern Z Bridge compass and voice tubes conning tower showing ships wheel and compass
Conning tower exterior Mechanical Diorama Mechanical Diorama Mechanical Diorama Mechanical Diorama
Mechanical Diorama Mechanical Diorama Mechanical Diorama Mechanical Diorama Mechanical Diorama
Mechanical Diorama Mechanical Diorama Admirals ' flags Forward 30cm/40 Pattern G turret Looking down from bridge
HMS Worcester Superstructure showing battle damage Looking forward from aft control One of the many campaign maps Battle of Tsushima chart
Imperial chrysanthemum from the bow of Mikasa HIJM Mikasa Mikasa photo One of many Mikasa plans HIJM Kasuga
Builders plans for Mikasa Officers head Chart showing block ships sunk off Port Arthur Chart of Port Arthur Photos of the siege
The destroyer attack of 9 February 1904 Mikasa gives battle at Tsushima Another great battle painting Port bridge wing 90cm searchlight Breech 15cm/40 Pattern Z
Sketch of the casemate guns 12 pdr QF Pattern N Warship photos More warship photos Signal flags
Ensigns of the worlds' navies Admiral Togo's sleeping quarters IJN Yamato   

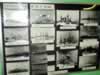
All photos contributed by Andy Doty