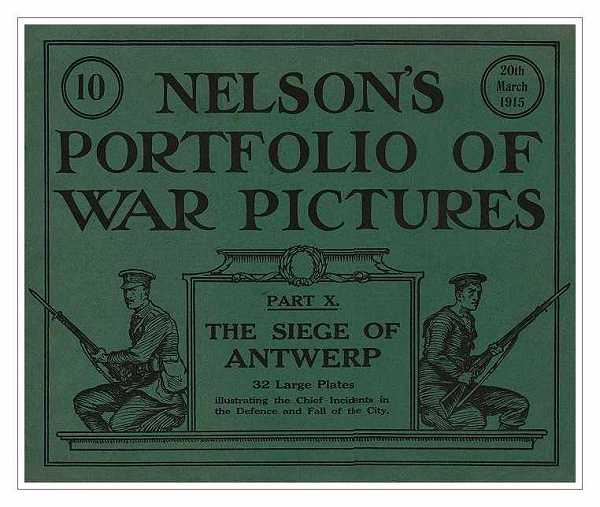
Nelson's
Portfolio of War Pictures


- The Siege and Fall
of Antwerp
- as Seen by a
British Magazine
cover page
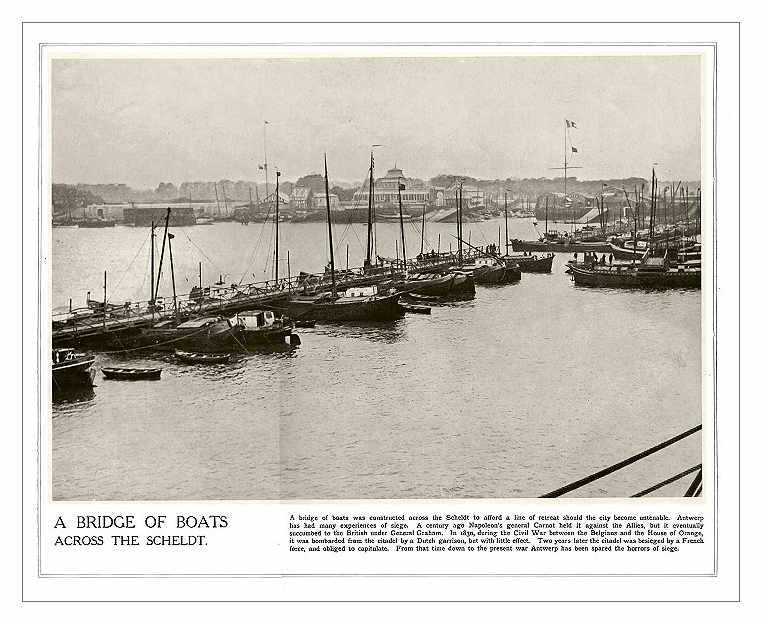
- There being no bridge or tunnel across the river at
Antwerp, military engineers constructed
- 2 pontoon bridges using barges and other craft on hand.
Both were blown up just before
- the city and the fortifications fell into German hands.
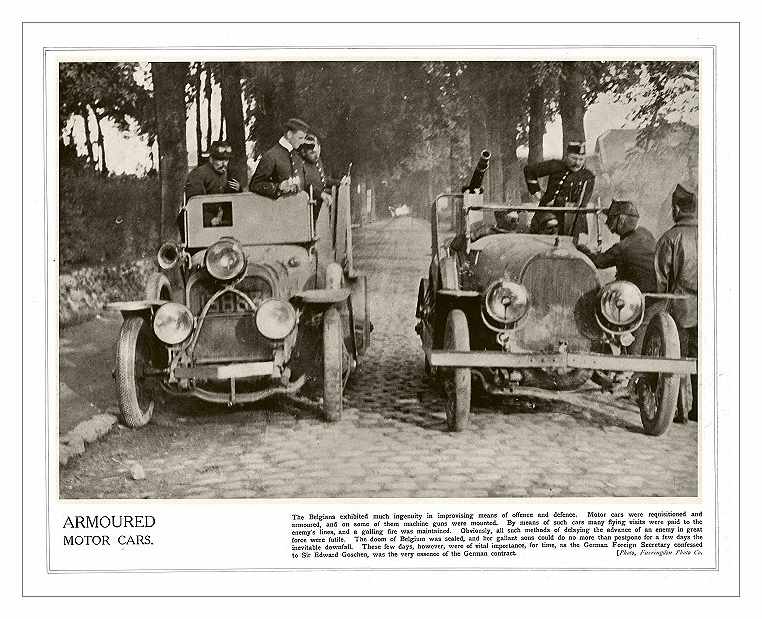
see 'Minerva
Armored Cars'
Next
Back
to Siege of Antwerp